
Open the Classes page
From your admin dashboard, click Classes in the main sidebar. You will see a grid of cards showing every class with its cover image, name, student capacity, and duration.
If this is your first class, the grid will be empty and you will see a prompt to add one.
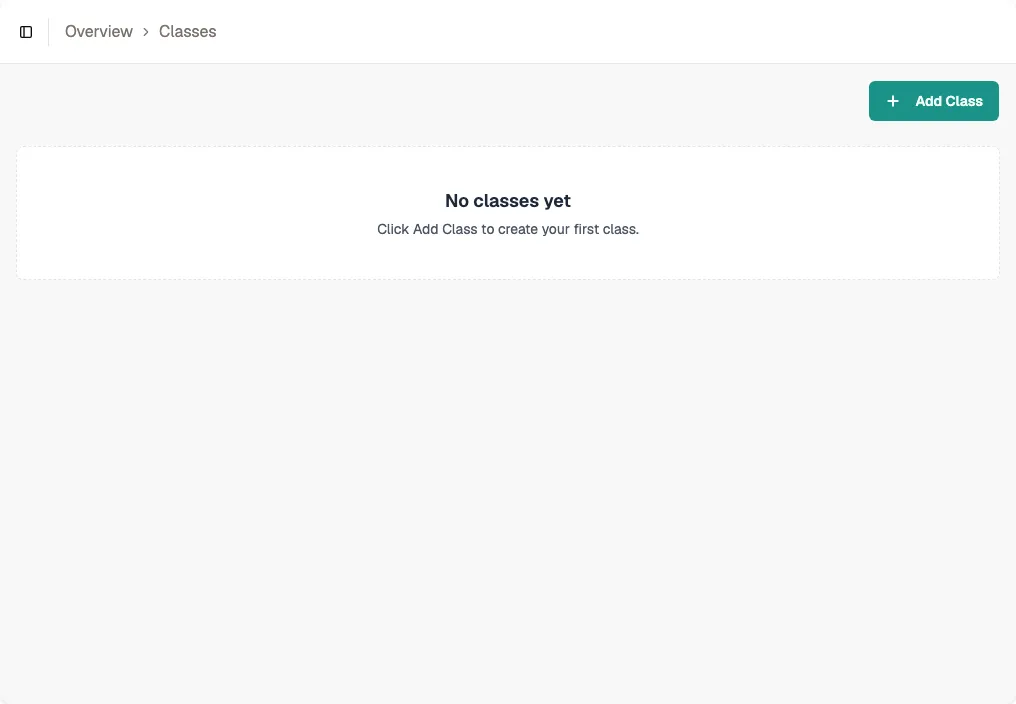
Start creating a class
Click Add Class in the top-right corner. A form panel slides open with two sections: Basic Settings and Pricing.
Enter a class name and a description. The description supports rich formatting, so you can add headings, bullet points, and links. This text appears on the customer booking portal, so write something that helps customers understand what to expect.
Tip Use a clear, customer-friendly name such as "Vinyasa Flow" or "Reformer Fundamentals" rather than an internal code.
Set capacity and duration
In the Basic Settings section, enter the maximum number of students the class can hold. This is the default capacity for all schedules you add later.
Set the duration in minutes. Common values are 45, 60, or 90 minutes. The duration is used to block out time on the instructor calendar and to show customers how long the session runs.
Tip If you run the same class at multiple locations with different room sizes, set the capacity to the largest room and override it per schedule later.
Configure pricing
In the Pricing section, add at least one payment method. Choose Cash, a credit package, or a pass package. Enter a cash price or the number of credits to deduct; pass packages provide unlimited access during their validity period, so their cost stays at zero.
You can add multiple rows to offer different payment options. For example, charge 25 for a drop-in, deduct 1 credit from a class pack, or accept an active monthly pass. If you use peak-hour pricing, enter the optional peak cost for cash and credit packages.
Tip Only active packages appear as choices. Create the package and at least one plan before adding it to class pricing.
Save and upload a cover image
Click Submit to save the class. The dialog closes and the class appears in the grid on the Classes page.
Click the class card to open its detail page. At the top of the page is a header area with a photo icon. Click it to upload a cover photo from your computer. Supported formats include PNG, JPEG, WebP, GIF, AVIF, and BMP. The cover image is displayed on the class card in the customer booking portal.
Add a recurring schedule
Switch to the Recurring tab on the class detail page. Click Add Recurring Schedule to define when and where this class runs.
Select a location and resource (room), choose the days of the week, set the start and end times, pick an effective date range, and assign one or more staff members. Bookjor will automatically generate individual session instances from this schedule.
Tip You can also add one-off sessions from the Overview tab if a class does not follow a regular weekly pattern.